Cloudflare Workers and Pages

Intro
In this article I'm going to show you how to setup a website on a Cloudflare without needing to deploy any infrastructure or use any other cloud providers. Cloudflare has many great features for deploying web applications including serverless compute, databases, object storage, and more. With their built-in global network it makes for an easy, one-stop shop for deploying your web applications.
Project Recipe
Ingredients
- A website: HTML, CSS, JS. Nothing too fancy
- A Github repo for that website
- Cloudflare
Steps to bake this cake
- Create the website
- Commit it to the repository
- Connect the repo to Cloudflare workers
- Deploy the site to Cloudflare
- Attach a DNS domain to the deployment
- Cake!!
Website Build
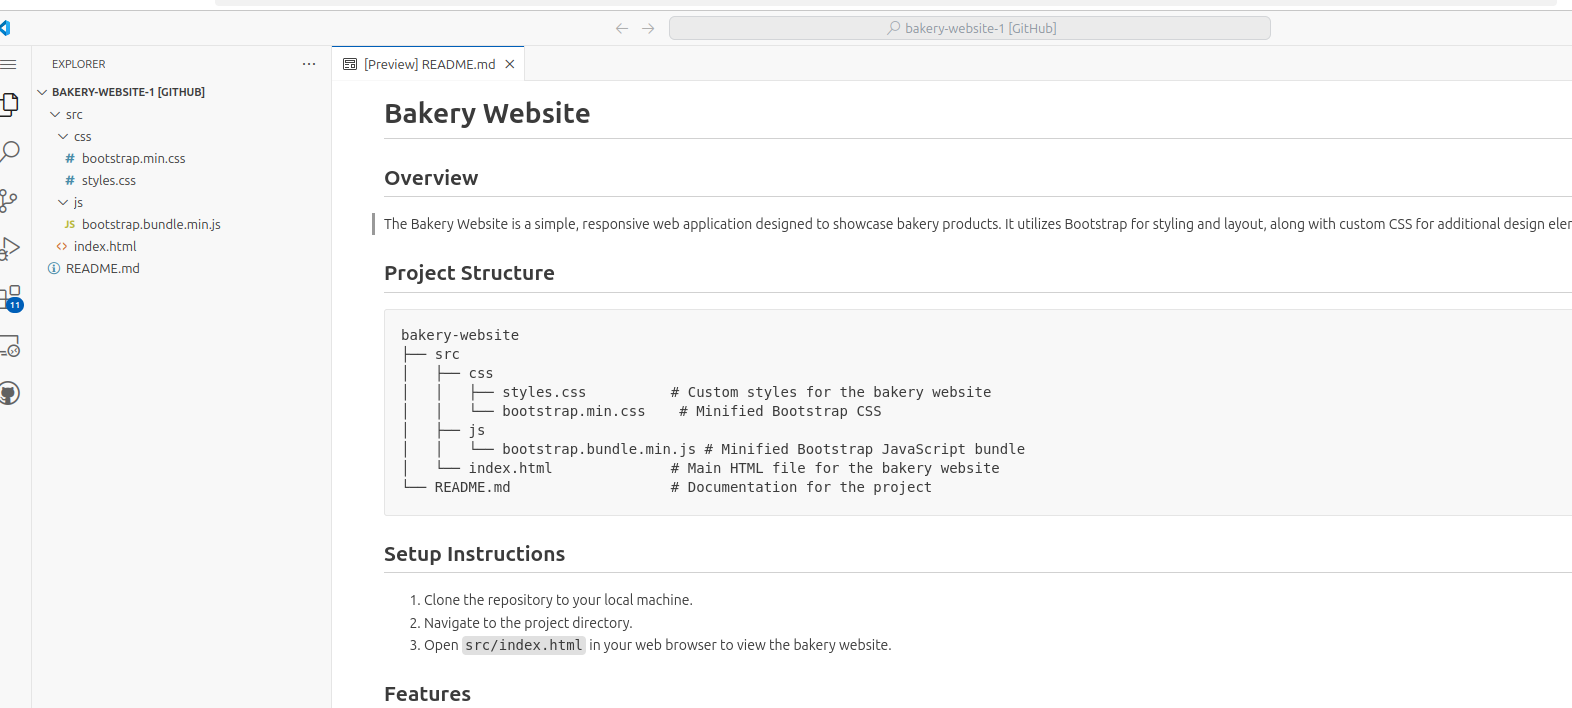
To start we need to create a site to upload to Cloudflare. I wanted a quick way to get started with this project so I used Github Copilot in VSCode to help me create a quick boilerplate site. It only took a few prompts in the VSCode Copilot plugin to get a basic design that I was happy with. Css is always something I struggled with so it was nice to be able to ask it for what I wanted it to look like and have Copilot build the styles for me. We completed with a small bakery site that does not have much on it yet, but we'll get there later. Once I had a site that I was happy with, I created a Github repo and imported the site files to it.

Now we could get started working with Cloudflare and their Workers engine.
Cloudflare Compute
The Cloudflare Workers and Pages are serverless compute functions that allow you to run sites and applications without messing with infrastructure. Using Workers you can setup a full-stack application, a back-end api, or even an AI interface. Pages are similar to workers in their deployment style but are designed for deploying web applications with static assets and simple website designs. So if all you'd like to do is run a web site with just HTML, CSS, Javascript, and media files, you can use Pages.
We are going to create our website on Pages.
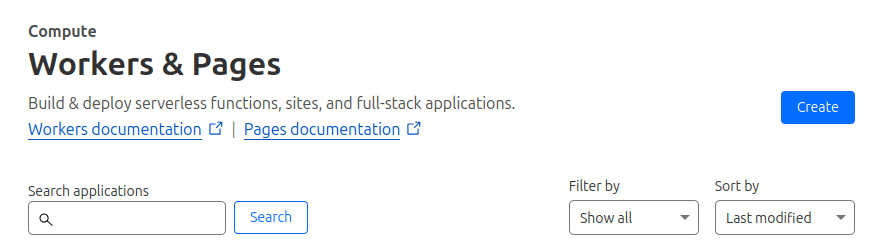
Over at Cloudflare, navigate to the "Compute(Workers)" section on the main account sidebar. Once on the Workers and Pages page click the Create button to get started. You can get started quickly either by uploading your site files directly or linking the deployment to a Github repo. If all you need is a quick manual deployment, uploading the files directly is the way to go. However, linking your Github repo to the deployment provides you with much more features like automatic deployments upon repo updates and production / preview environments. So we are going to all in and deploy with a Github repo.

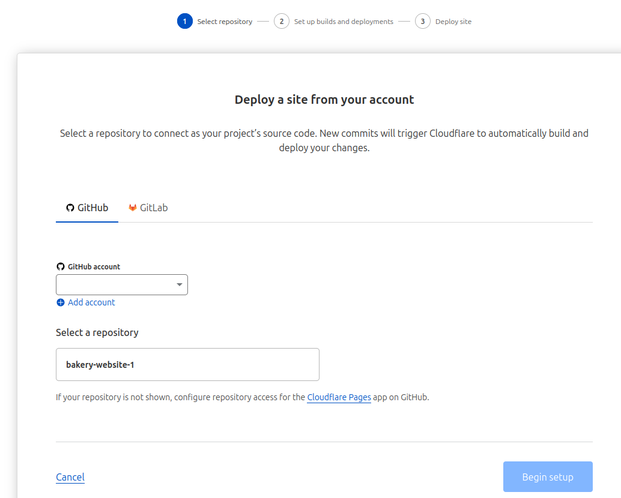
If you have not deployed on Cloudflare Workers & Pages yet using Github, you'll have to link your Cloudflare account to your Github account. Linking the accounts requires you to accept some OAUTH permissions allowing Cloudflare to access your Github account. Once accepted you can continue with the setup.

The first step to deploy on Cloudflare Pages is to select the Github repository from your account.
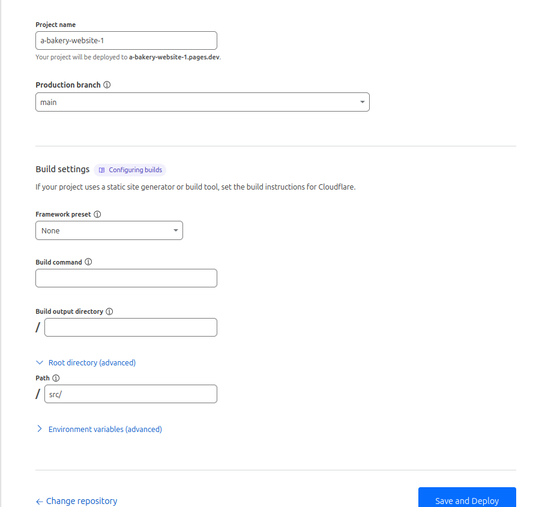
Next we configure some basic deployment settings. You can configure settings like:
- The repo branch where the production code is
- The site's framework, if you use one.
- Build commands and output
- Root directory
The root directory is one you might want to pay attention to. If you are like me and your repository has the site code at a subdirectory like /src, then you'll need to put that in the root directory field.
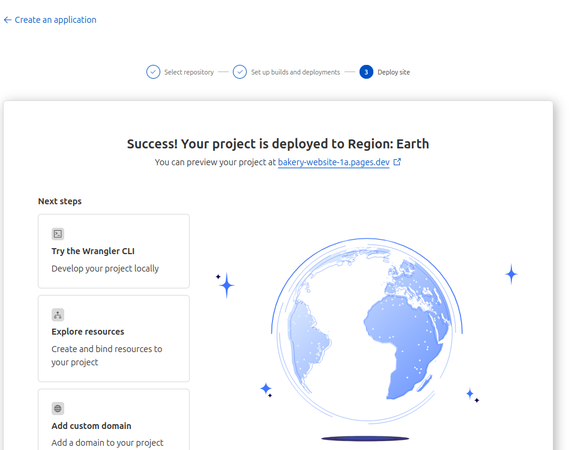
Click "Save and Deploy" and Cloudflare will checkout your repository, build the site, and deploy to the Cloudflare network. Congrats you are deployed in three easy steps!
Deployment
Once completed, the site is automatically deployed. Each deployment gets a unique domain name under the pages.dev domain. Accessing that domain name gets you to the root of the site. It may take a few minutes after the first deployment for the site to be available.

The base deployment has a few features you may want to take a look at. On the deployment navbar, you can see a list of all of the deployments that your Pages site has deployed. By default, automated deployments are enabled, so if you update your main production branch on Github, Cloudflare will automatically deploy the new changes. On each deployment you can click the "details" link to view the details of the deployment, such as the Build Log and the Assets uploaded. Also you can view the setup of more advanced features like Functions, Redirects, and Headers.
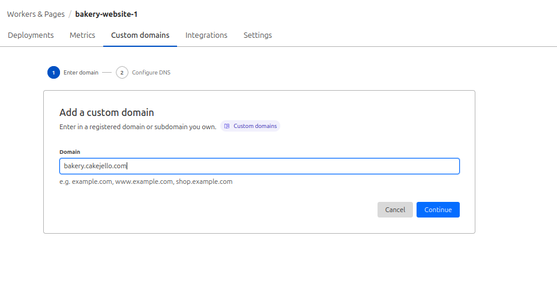
Back on the main deployment page, we can check other features like Metrics and Integrations, but first we want to provide our deployment with a Custom domain name. This way its easier for our users to find the site. We'll setup a custom domain name from a domain we already own and have hosted on Cloudflare. Go to the Custom Domain tab on the deployment, select "setup a custom domain", and enter the domain name we'd like to host the site on. Next, Cloudflare will automatically determine the CNAME DNS records to create for us. We click "Activate Domain" and in a few minutes the custom domain will be available.
Click continue and confirm the DNS record that Cloudflare will automatically configure for us. Activate and we're done.
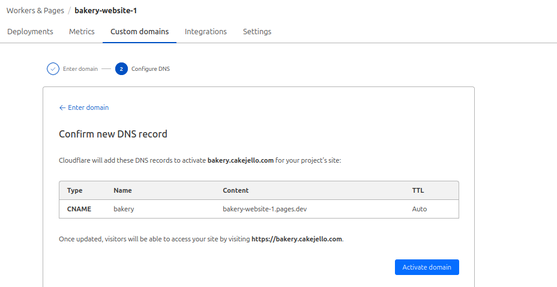
Our site is now fully up with a custom domain. Even though Cloudflare said it might take up to 48 hours for the DNS record changes to complete it only really took a few seconds.
Additional Settings
Let's take a look at some of the settings that you can configure on one of these deployments. These are just a few of the settings you can configure on a workers/pages deployment.
- Production / Preview environments
- Branch control
- Env. Variables and Secrets
- Resource Bindings
The deployments support a production and preview environment setup. So you can stage settings before sending them to production. With Github integration, these are configured on separate branches, with production attached to main and preview attached to all others by default.
Branch control configurations allow you to select if you want updates to the branch to be automatically deployed or not. You can also select which branch(es) to attach to your production and preview environments.

Custom environment variables and secrets can be created so they are available to your application's runtime environment. This can be useful if you have outside APIs to connect to and need to provide your application the authorization keys. Variables can be stored as either a Text resource (environment variable) or a secret. Secrets will not be readable after their initial save and their values are only retrievable by your runtime environment using their name(key).
Resource bindings allow your application to use to other Cloudflare resources like D1 databases, Durable Objects, KV namespaces, and others. Bindings are an advanced topic that could take up several posts to discuss but I wanted to show that these are available to be used.
Well that's about it. I hope you like the bakery and will come back to enjoy some of our delicious cake jello. In the next article in this series we will discuss the various security features that hosting on Cloudflare provides your site.